
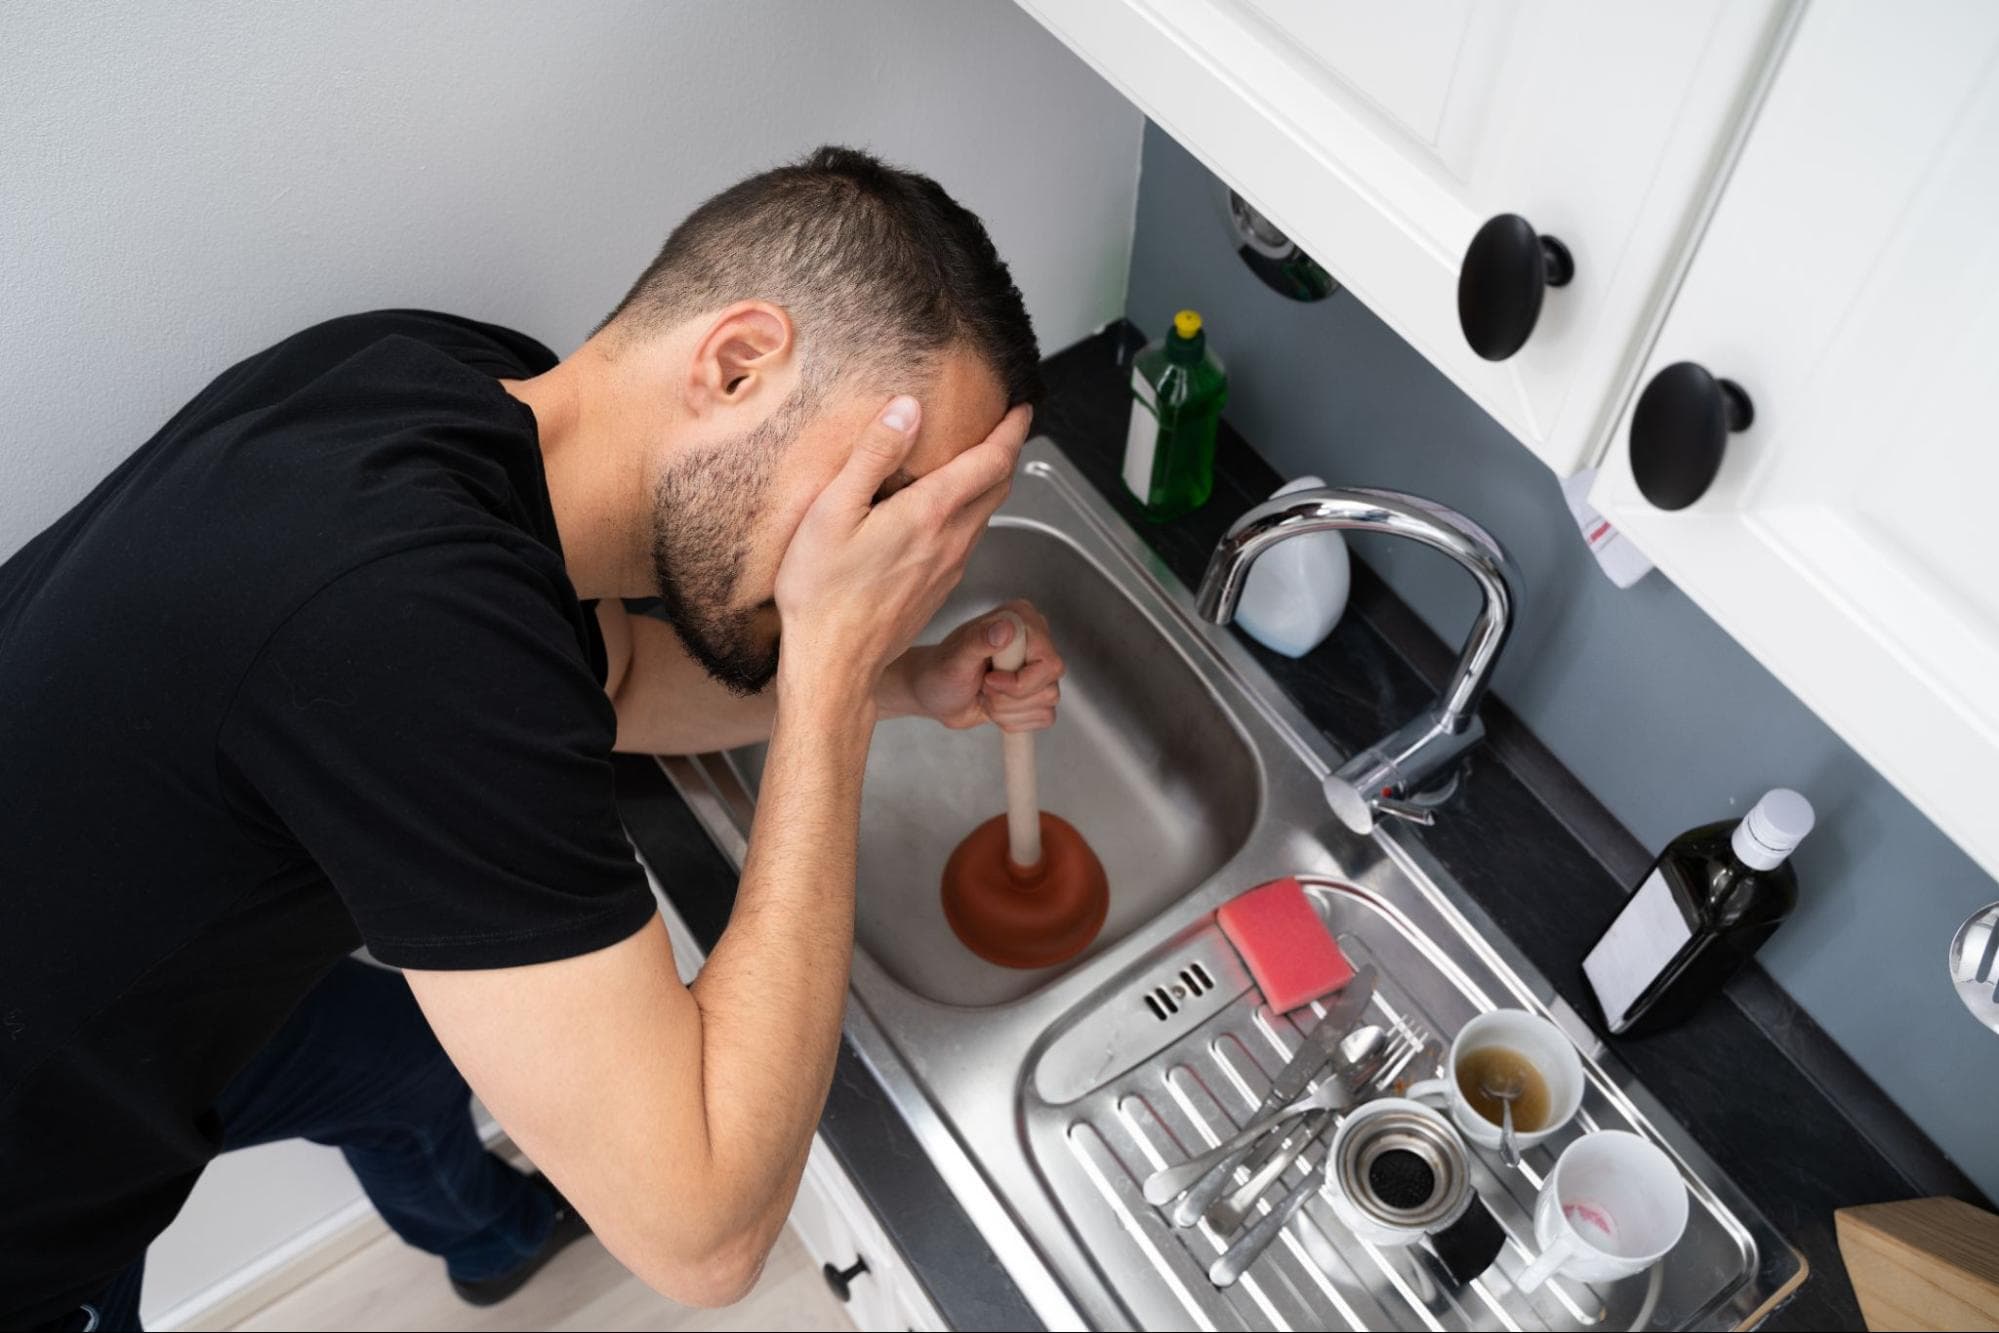
Plunging well comes down to three things: the right plunger (flange for toilets, cup for sinks and tubs), a sealed connection over the drain with water covering the cup, and 15–20 controlled vertical strokes that never break the seal. Start gently to push the air out, never plunge after using chemical drain cleaner, and if two or three proper rounds don't clear it, the clog needs a plumber.
On this page:
The 4 Types of Plungers
How to Plunge a Toilet
How to Plunge a Sink, Tub, or Shower
Mistakes That Keep the Clog Winning
When the Plunger Isn't Enough
FAQs
Nearly every home has a plunger. Far fewer have one that matches the drain it gets used on, and fewer still get the technique right.
That's why the plunger gets an unfair reputation. Used correctly, it clears the majority of everyday toilet and sink clogs in a few minutes, no chemicals required.
The 4 Types of Plungers (and Which Drain Each One Fits)
Plungers aren't interchangeable: each of the four common designs seals against a different drain shape, and the seal is what does the work. Match the plunger to the fixture and most clogs give up in under a minute.
Flange plunger: the toilet specialist
A flange plunger looks like a standard cup with an extra sleeve of rubber (the flange) extending from inside it. That sleeve is the whole point: it seats into the curved toilet drain opening and creates the tight seal a flat cup can't manage on a curved surface.
If plunging your toilet has never seemed to work, check the plunger before blaming your technique. A flat cup plunger on a toilet is the number-one reason plunging fails.
Cup plunger: for sinks, tubs, and showers
The classic half-dome on a handle. It's designed for flat surfaces, where the rim can press evenly around the drain: kitchen sinks, bathroom sinks, tubs, and shower drains. On a toilet it can't seal, and without a seal it moves water around instead of moving the clog.
Accordion plunger: power with a caveat
Accordion plungers are hard plastic bellows that generate serious force for stubborn toilet clogs. The trade-offs: they're harder to seal, harder to control, and the rigid plastic can scratch porcelain. Consider one a second-line tool for tough clogs, not the everyday choice.
Beehive plunger: the shape-shifter
The newest design, with a tapered profile that adapts to different bowl shapes, including the curved drains of modern high-efficiency toilets. If your toilet's opening never seemed to fit a standard flange, this is the plunger built for it.
The practical setup for most homes: own two — a flange or beehive model for the toilet and a cup plunger for everything else. Keep them separate, label them if you have to, and never let the toilet plunger visit the kitchen sink. Sanitize after messy jobs and let them dry before storing.
One more habit worth keeping: check the rubber a couple of times a year. Cracked, stiff, or torn rubber can't hold a seal, and a plunger that can't seal can't plunge.
How to Plunge a Toilet, Step by Step
1. Manage the water level first. You want the bowl about half full, enough to submerge the plunger cup completely. If a failed flush has the bowl near the rim, bail some out. If it's nearly empty, add water. Plungers push water, not air, and the water is what transmits the force.
2. Seat the flange in the drain. Fold the flange out and guide it into the drain opening at an angle that lets water, not air, fill the cup. Press down so the cup rim contacts the porcelain all the way around.
3. Start gently. The first push should be slow and easy, expelling the air trapped in the cup. A hard first stroke splashes, and it can blast air into the trap without moving the clog.
4. Plunge with the seal intact. Give it 15–20 quick, controlled, vertical strokes, pushing and pulling without lifting the cup off the drain. The pull stroke matters as much as the push, since it rocks the clog loose from both directions. Keep the handle upright; a tilted handle breaks the seal.
5. Test with the tank lid off. Break the seal, pull the plunger, and flush with the tank lid removed. If the water starts rising, push the flapper (the rubber disc at the tank's bottom) closed by hand and the bowl will stop filling. That one trick removes most of the overflow risk from test flushes.
Repeat the cycle two or three times if the first round doesn't clear it. After that, more plunging isn't the answer.
How to Plunge a Sink, Tub, or Shower
1. Clear the field. Remove the stopper or strainer and pull out any visible hair or debris. In a kitchen sink, scrape out food waste first so you're not plunging it deeper.
2. Block the escape routes. This is the step that makes or breaks flat-drain plunging. Stuff a wet rag into the overflow opening (the small hole near a sink or tub's rim), and in a double kitchen sink, seal the second basin with a wet rag or a second plunger held firm. Any open path lets your pressure escape without touching the clog.
3. Set up the seal. Make sure there's enough standing water to cover the cup. A thin coat of petroleum jelly on the rim improves the seal on flat surfaces noticeably.
4. Plunge. Quick, deliberate vertical strokes for about 20 seconds, keeping the cup sealed to the surface. Check the drain, and repeat once or twice if needed.
5. Finish with hot water. Once the drain clears, run hot tap water for a minute to flush the loosened debris fully down the line.
Mistakes that Make Things More Difficult
The technique above fails predictably when one of these gets in the way:
Plunging after chemical drain cleaner. The most dangerous mistake on this list. Plunging can splash caustic chemicals back onto your skin and eyes. If cleaner has gone down the drain, don't plunge; wait, flush with water, and choose another method.
The wrong plunger for the drain. Flat cup on a curved toilet drain, or a flange flopping around on a flat sink. Match the tool first.
No water over the cup. Plunging air accomplishes nothing. Submerge the cup.
A violent first stroke. Splash, mess, and a broken seal. Ease the air out, then work.
Breaking the seal between strokes. Every lift restarts the job. The strokes are a continuous cycle, not repeated stabs.
Worn-out rubber. A cracked or stiff cup can't seal. Replace the plunger; it's the cheapest tool in plumbing.
Flushing repeatedly mid-fight. A second flush into a clogged bowl is how bathroom floors get wet. Test once, tank lid off, hand near the flapper.
When the Plunger Isn't Enough
Some clogs outrank the plunger, and knowing the escalation path saves both the fixture and the afternoon.
For sinks, try hot (not boiling) water with a squirt of dish soap to soften grease, then plunge again. The next step up is a drain snake or hand auger, which physically hooks or breaks up what suction can't move. What we don't recommend as the "next step" is chemical drain cleaner: it damages older pipes with repeated use, it's brutal on the environment, and it turns the drain into a hazard for whoever works on it next.
A clog that returns weeks after clearing, or slow drains through the whole house, is a different story from a one-off blockage. Those patterns point to buildup deep in the line, or a problem in the main drain, and that's professional territory. For toilets specifically, our companion guide on how to unclog a toilet covers the auger and the escalation path in more detail.
Clog shrugging off everything you throw at it? When proper plunging can't move it, the blockage is usually deeper in the line than any household tool reaches. Hutchinson's licensed plumbers have been clearing South Jersey's drains since 1948, with same-day service and a 100% satisfaction guarantee, "Always On-Time, Guaranteed." Call 856-208-5993 and we'll take it from here.
South Jersey Trusts Hutchinson.
Hutchinson has been family-owned since 1948: nearly 80 years serving South Jersey, Southeastern Pennsylvania, and Delaware. Our plumbers show up when promised, price the job before the work starts, and back everything with a 100% satisfaction guarantee.
Whether it's a stubborn clog, a drain that keeps slowing down, or a bathroom project you'd rather hand off entirely, we're available 24/7, including the holidays clogs seem to prefer. Call 856-208-5993 or book online today.
Frequently Asked Questions
What is the correct way to use a plunger?
Match the plunger to the drain, submerge the cup in water, and press it down for a full seal. Push gently first to expel air, then give 15–20 quick vertical strokes without lifting the cup. Test the drain, and repeat up to two more rounds before escalating to a snake or a plumber.
What's the difference between a toilet plunger and a sink plunger?
A toilet plunger (flange style) has a rubber sleeve that extends into the toilet's curved drain to seal it. A sink plunger is a simple flat cup that seals against flat surfaces like sinks, tubs, and shower floors. Each seals poorly on the other's territory, which is why owning both matters.
Why is my plunger not unclogging the toilet?
Usually one of four reasons: it's a cup plunger instead of a flange model, there isn't enough water to submerge the cup, the seal breaks between strokes, or the clog sits deeper than plunging force reaches. Fix the first three and give it two or three proper rounds; then it's auger or plumber time.
Should there be water in the toilet when you plunge?
Yes. The bowl should be about half full, enough to cover the plunger cup completely, because water transmits the plunging force and air doesn't. Bail out an overfull bowl to prevent splashing, and add water to a nearly empty one before you start.
Can plunging damage pipes or the toilet?
Proper vertical plunging is safe for fixtures and pipes. Problems come from extremes: violent sideways force can crack a porcelain seal, rigid accordion plungers can scratch bowls, and plunging on top of chemical drain cleaner can splash caustics. Controlled strokes with the right plunger risk nothing.
When should I stop plunging and call a plumber?
Stop after two or three full rounds of correct technique with no progress, or immediately if water backs up into other fixtures, which signals a main-line problem. Recurring clogs in the same drain also deserve a professional look, since they usually mean buildup or an obstruction deeper in the line.
Related Articles
What do you need help with today?
Heating
No heat, strange smells, rising bills? We repair and replace heating systems to keep your home reliably warm.
Air Conditioning
AC blowing warm air? Uneven cooling in your rooms? We fix cooling issues fast and keep your system running smoothly all summer.
Plumbing
Our highly trained plumbers handle it all, from leaky faucets to full system installations and repipes.
Electrical
The smartest team in town. You need repair, installations, wiring, inspections, lighting — you name it.