Take control of your AC unit. Some homes have indoor air pollution that is two to five times worse than air pollution outside your home. Indoor air pollution can contribute to respiratory and heart problems, so it’s essential that you maintain your AC unit. To keep your air conditioning unit in optimal condition, you must follow a series of steps. Our AC maintenance checklist provides guidance on all stages of AC maintenance and can be completed within a day. Here is a comprehensive list of everything you need to do.
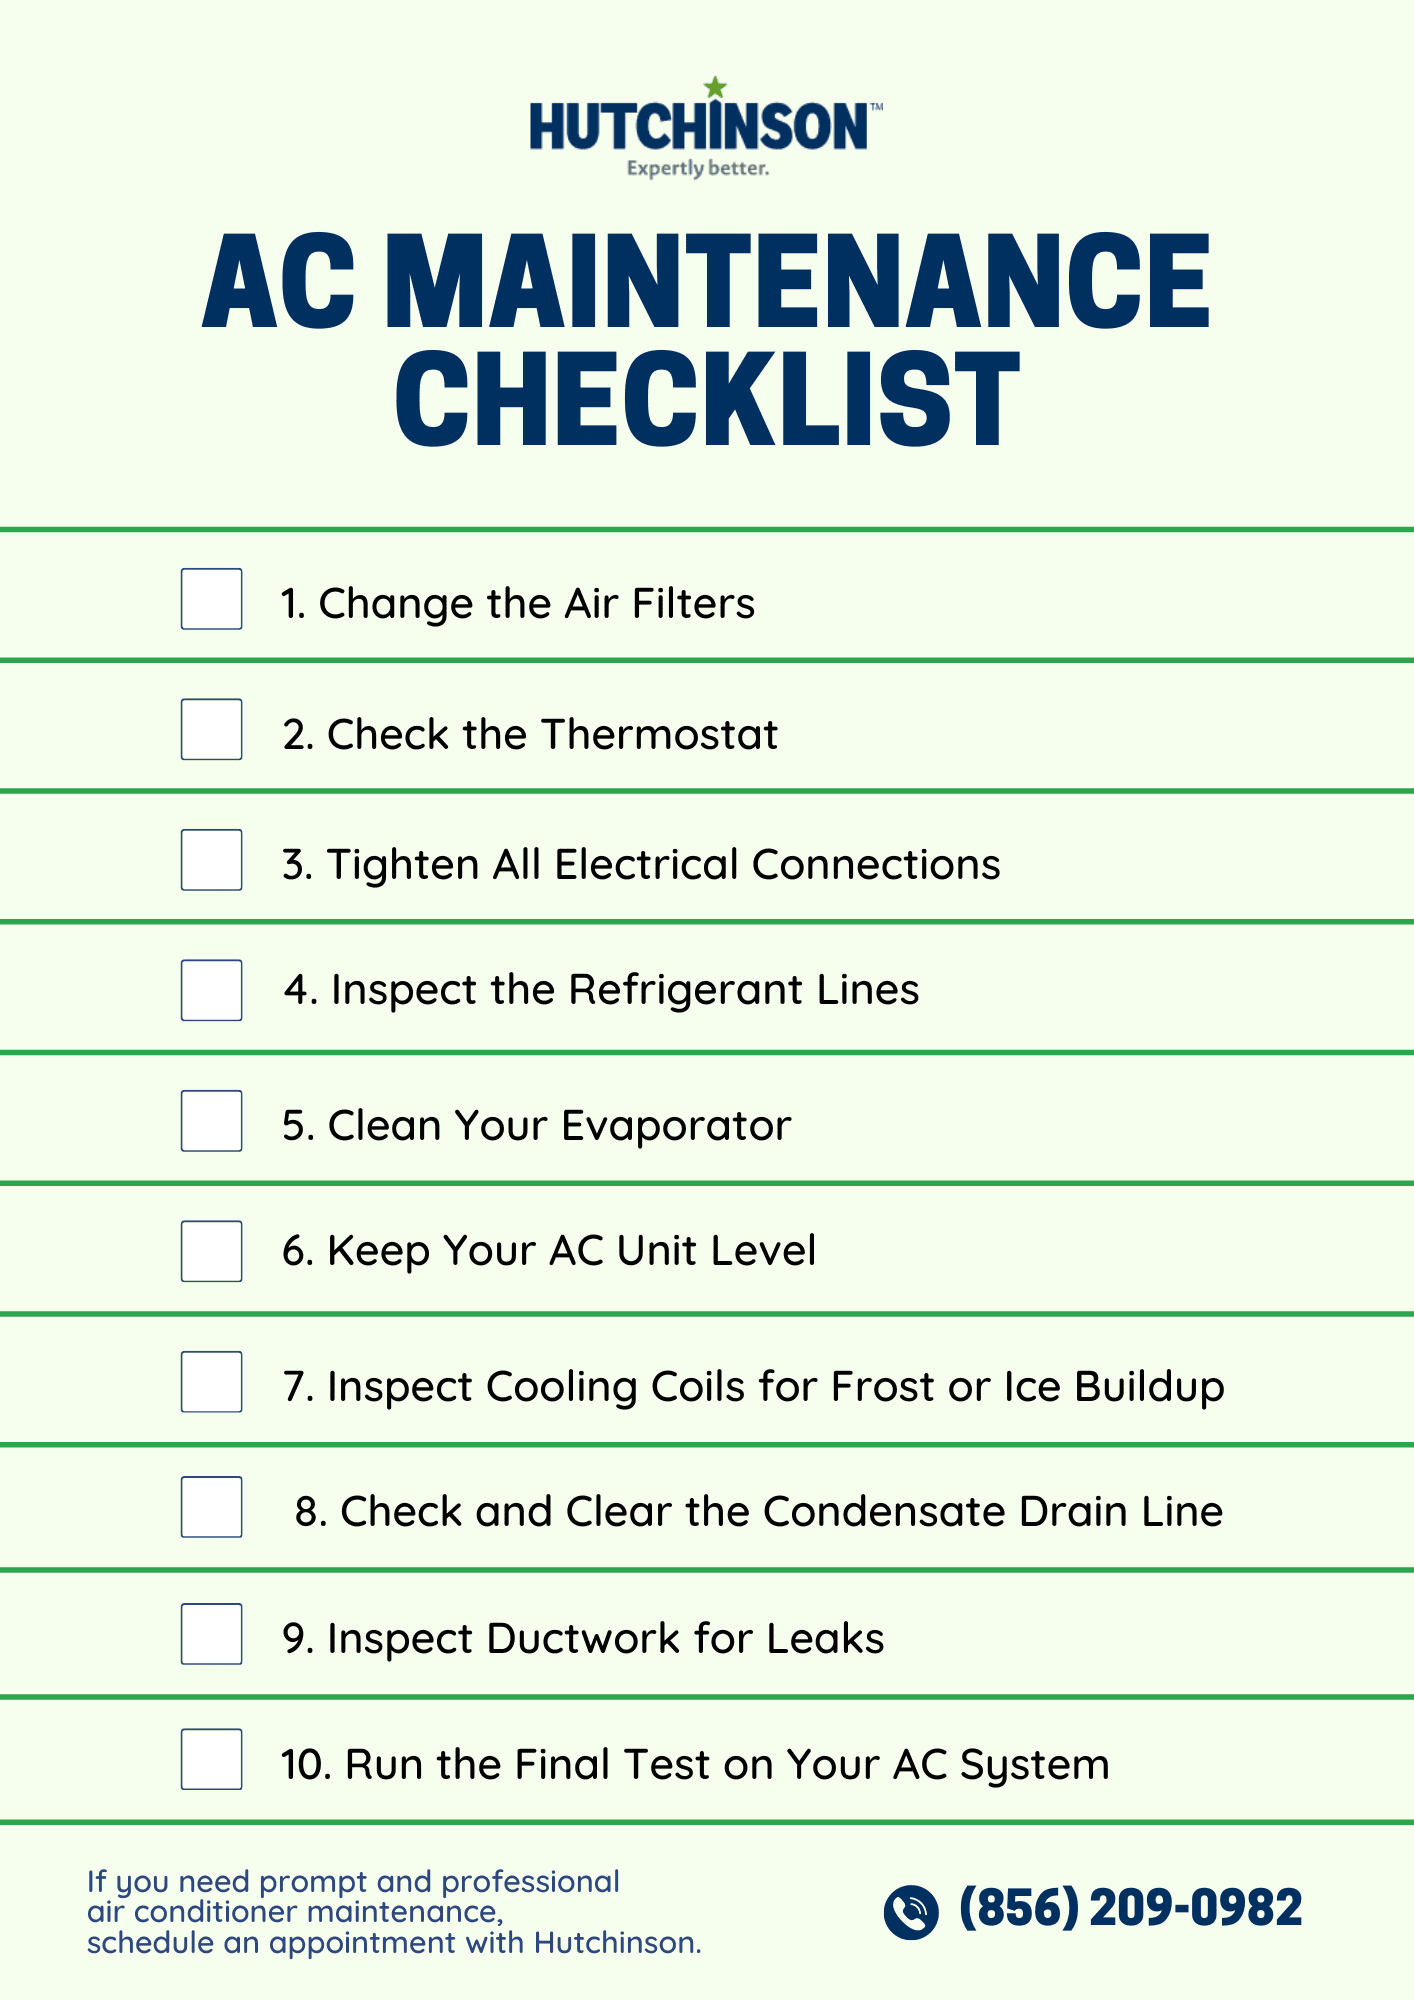
AC Maintenance Checklist

Keep a copy of your AC unit plan handy to make it easier to follow your air conditioning maintenance checklist. Label the location of each part of your unit so you can access it more quickly. Additionally, print out the maintenance steps and mark them off with a pencil as you complete them. Some steps may require more frequent attention than others, but be sure to go through the entire AC maintenance checklist at least once each season.
1. Change the Air Filters
Replacing your air filter can lower your AC’s energy consumption by 5% to 15%, saving you thousands of dollars on electricity bills. You need to check your filter every month. Your filter can get clogged in as little as 30 days, and most filters are clogged within 90 days.
Remove your filter from your AC unit and hold it to a light. If you cannot see the light passing through, your filter is clogged, and you must find a replacement. The replacement should be an identical copy of your old filter; installing a different size or shape can allow hair and debris to pass into your AC unit. If you’re having trouble installing your filters, find an AC professional who can do it for you.
2. Check the Thermostat
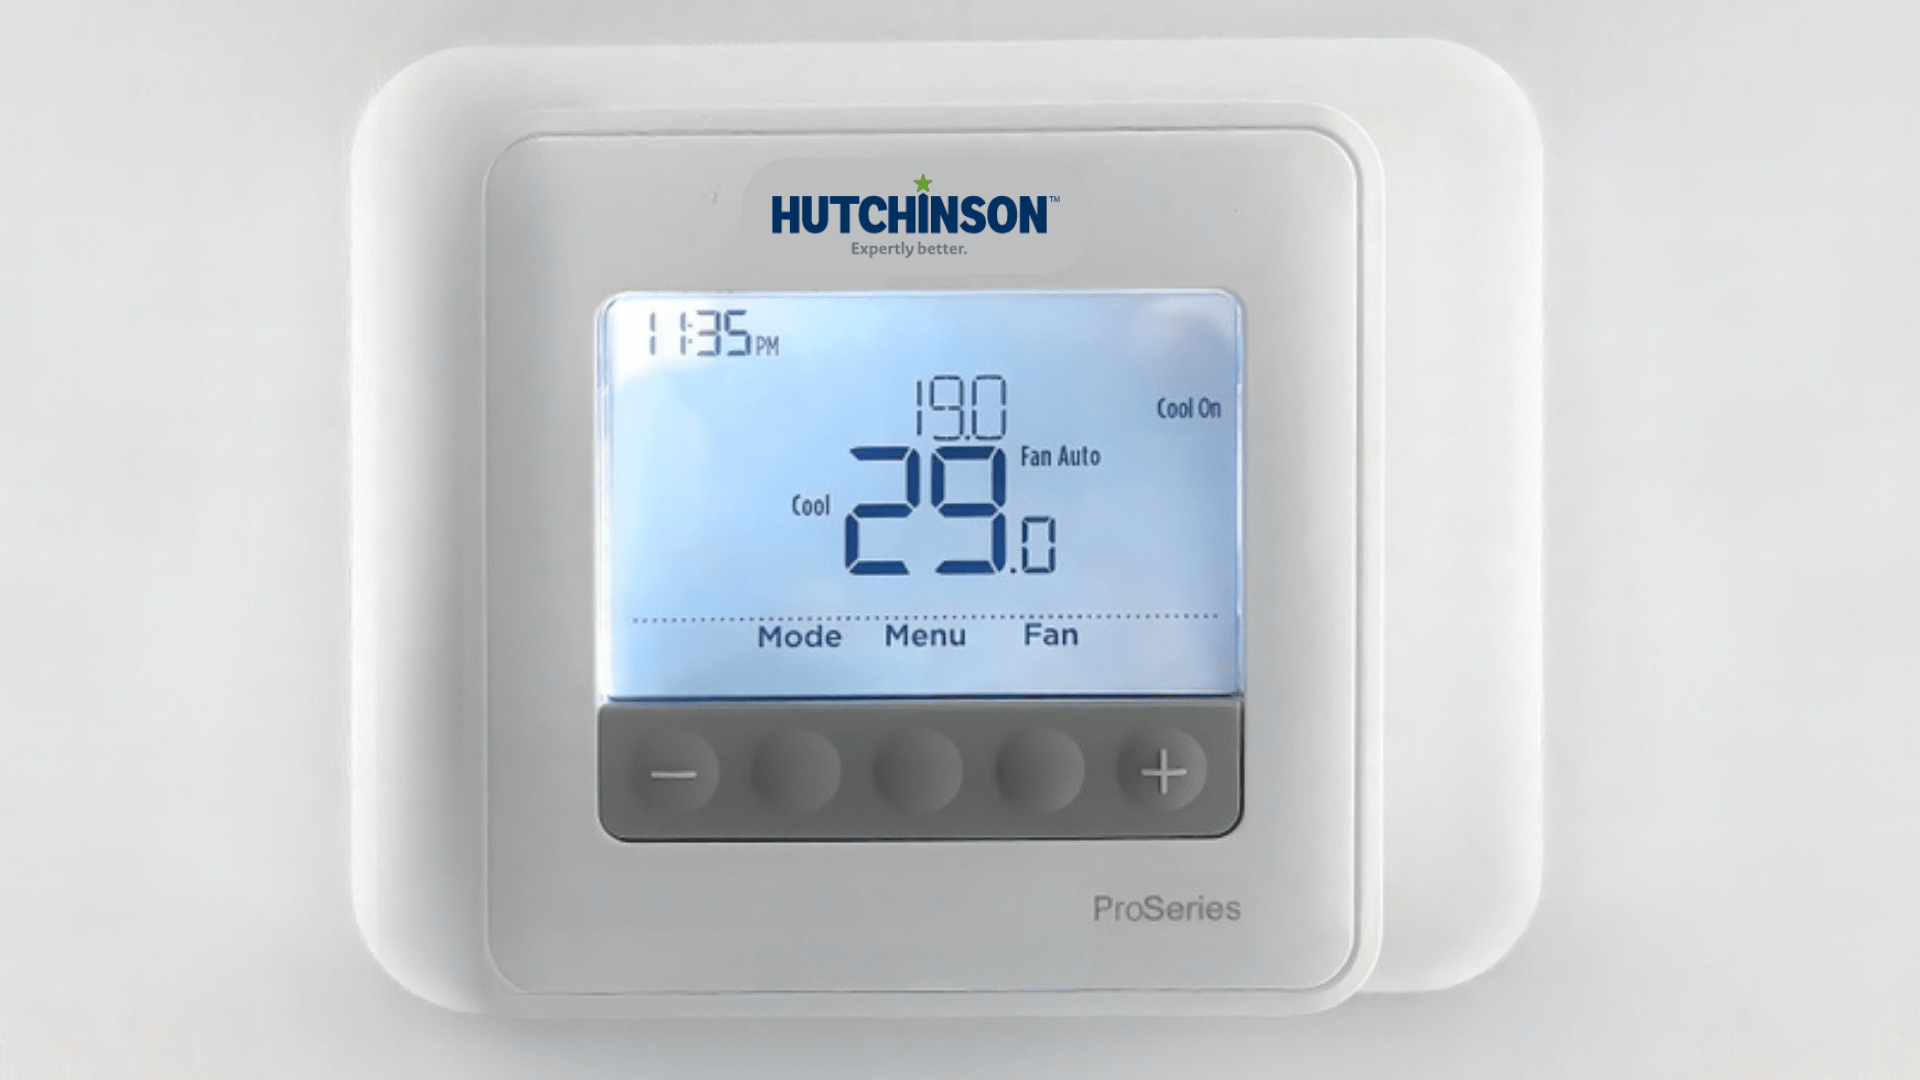
Your thermostat sets your temperature and ensures your home is at your desired temperature throughout the day. If your AC ever stops working, you should check the thermostat immediately.

Look at the cool/heat/off switch and make sure the switch is not off. You should also check the settings and see if your thermostat has been programmed to the wrong temperature. If everything still seems fine, check the power supply. Your thermostat may be disconnected from electricity or out of batteries.
3. Tighten All Electrical Connections
Other parts of your AC system besides your thermostat are connected to electricity. After checking your thermostat, you should ensure all other components are connected.
Turn off the electricity flow before you start to tighten the electrical connections. Wear rubber gloves and use tools so that you do not touch wires with your bare hands. If you’re not experienced with electrical work, contact an AC check-up professional who can tighten things for you.
4. Inspect the Refrigerant Lines

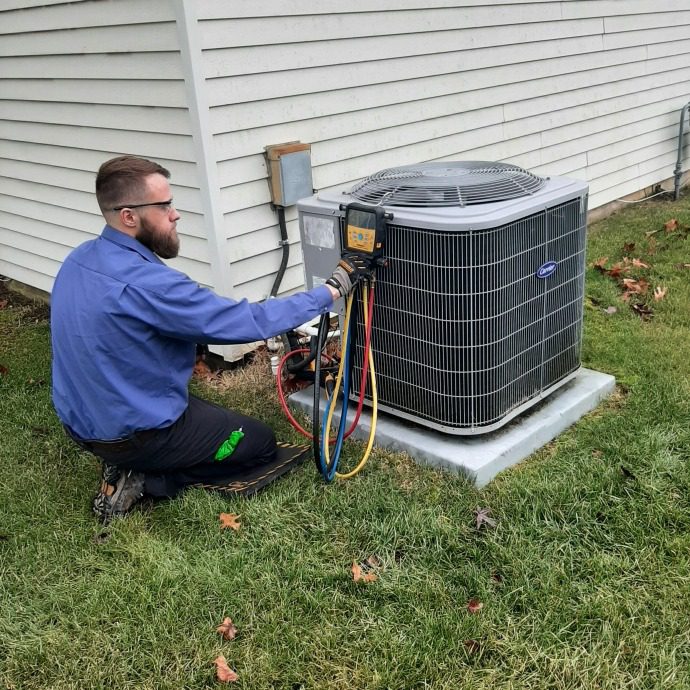
Your refrigerant lines are located in your exterior condenser and air handling unit. If you program your AC unit to cool the air but feel hot air, your refrigerant lines may be clogged or leaking.
Go to your exterior condenser and compressor and examine your tubes. They should be between your air handler and the compressor.
For your safety, do not touch your lines. Call a professional HVAC repair specialist immediately if you notice ice on the lines. Turn off your AC at the thermostat and turn the fan to the “on” position. This will give the system time to thaw out before our technician arrives as well as reduce the risk of causing further damage to the system.
Want an experienced professional to fix your refrigerant lines? Book an appointment with Hutchinson to receive same-day service.
5. Clean Your Evaporator
Your evaporator coil absorbs the heated air inside your home, allowing you to stay cool. The coil may be inside your air handler or attached to your furnace.
Shine a light on your evaporator and ensure it has no holes, bends, or cracks. If you notice problems, call a repair specialist. Your evaporator may start leaking refrigerant, which can damage your unit. Turn off the unit and wait for the repair specialist to arrive.
These coils can be cleaned, but it’s best to leave this task to a professional. The last thing you want is to accidentally cause damage to your coils.
6. Keep Your AC Unit Level
If the ground beneath your AC unit shifts, your unit may break or become disconnected from your house. Make sure your AC unit is level and flat to the ground.
Putting your unit on pads is okay, but your pads need to stay in place. You can use rocks or concrete so they don’t shift. If your unit starts tiling, you should talk to your AC professional about keeping the unit stable.
7. Inspect Cooling Coils for Frost or Ice Buildup
If your evaporator coils get too cold, the warm air around them can condense and form ice. Ice buildup will cause your compressor to run at a high temperature and burn your unit out. Your coils may get too cold because of refrigerant leaks.
Check your coils at least once a month during the fall and winter. When you notice ice, turn off your unit and wait for the ice to melt. Clean your coils and check your unit for any debris buildup or blockages that may keep the air around your coils from escaping.
8. Check and Clear the Condensate Drain Line
Your condensate drain line carries built-up moisture inside your unit away from your house. Water may leak if your drain line gets clogged, spreading bacteria and mold. Your condensate drain pan may get clogged or cracked as well, which can lead to leaks or create pools of water.
The exterior of your outdoor unit has a drain line with a PVC cap. To clear any debris and trapped condensation, inspect the drain line using a flashlight and remove them using a wet vac. Don’t forget to check the access point for the drain line inside your home, which is also covered with a PVC cap. To remove any debris, pour a 50/50 mixture of vinegar and warm water down the drain line.
9. Inspect Ductwork for Leaks

If you notice that cool or warm air is not circulating correctly, you may have leaks between your ducts. Walk along the length of your system and watch for loose ductwork or gaps between your ducts. If you notice problems, install new seals and insulation.
If you don’t clean your ducts, mold and dust can circulate through your home, and pests can set up nests in your AC. After you’ve inspected your ducts, clean them using your vacuum cleaner.
10. Run the Final Test on Your AC System
Once you’ve gone through all of the previous steps, you should test your AC. Turn the power on and let it run while keeping an ear out for unusual noises.
Schedule Your Annual Air Conditioner Service with Hutchinson

Your AC unit will eventually break, even if you flawlessly follow an air conditioner maintenance checklist. You should schedule an air conditioner service at least once a year. As your AC gets older, you may need two or more appointments. Ask a specialist to inspect your entire unit and describe to them any problems you have experienced. If you don’t have an HVAC maintenance contract, sign up for regularly scheduled services.
Related: The Top Reasons to Have an HVAC Maintenance Contract

